

Developing forms can be tedious. Form state is lost on page refresh and recreating that state usually involves simply entering each value again. This is doable when there are only one or two inputs, but for larger forms this quickly becomes a time consuming and annoying process.
At The Palmer Group, we recently added a set of forms to a client’s site that included a total of 39 input fields. Rather than repeatedly filling each form out by hand, we decided to take a test driven development approach.
Which tool to use?
The tools we had in mind to help us develop these forms were Cypress and Puppeteer. They both offer major improvements in reliability and developer experience over browser automation tools we had used in the past, as well as the ability to inspect the browser while your tests are running using cypress open or puppeteer.launch({ devtools: true }).
However, Cypress also allows you to time travel through your tests and inspect DOM snapshots before and after each command is run. We decided to use Cypress because of these features and found them to be a huge help while developing.
The Workflow
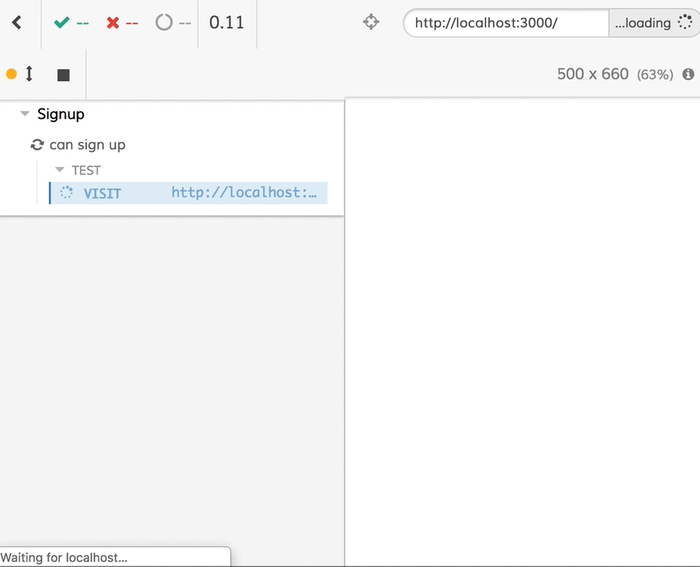
Now that we had decided on Cypress, the next step was to start writing our tests. The following is an example of a workflow for a basic signup form that we had to develop.
First, we need to write a test that navigates to the application, fills out and submits the form, and checks that a success message is displayed.
;
In this test we are using getByTestId from Kent Dodd’s cypress-testing-library to select DOM elements by their data-testid attribute.
Running our test for the first time fails because we haven’t actually written any UI yet!

Let’s fix that by writing our signup form. This is an example implementation with first name, last name, email, and password fields that will simply show a success message on submit.
Componentstate =success: false;{event;this;};{const success = thisstate;if successreturn <h1 ="success">Success!</h1>;return<div><h1>Signup</h1><form =><label ="firstName">First Name</label><input="text"="firstName"="Jane"="firstName"/><label ="lastName">Last Name</label><input="text"="lastName"="Doe"="lastName"/><label ="email">Email</label><input="email"="email"="jane@acme.com"="email"/><label ="password">Password</label><input ="password" ="password" ="password" /><button ="submit" ="submit">Signup</button></form></div>;}
After saving our form component, our Cypress tests re-run and now they pass 😎.

But perhaps that button would look better if it were tomato colored. Let's update the styles.
<button ="submit" ="submit" =>Signup</button>
After saving our changes our Cypress tests automatically re-run, but something looks off. Using Cypress' time travel feature to view a previous state of the DOM we can see that for some reason our background style was not added to the button.
Ah! It looks like we accidentally spelled it bakcground, so let’s fix that.
<button ="submit" ="submit" =>Signup</button>
When our tests run again, we see that the button color is now tomato.
🍅 👌
Conclusion
Although this example workflow is a bit contrived, we use this method of form development for all the forms we create at The Palmer Group. It helps to speed up development, catch more regressions, and keep us sane.
For more details about writing Cypress tests, check out their getting started guide.